¶ Welcome to CaRP!
So you've found CaRP.
Looks cool, right? You've just loaded in, you're in this... well, I guess we'll call it a car (or most of one, anyway) and there are other cars zooming all around on solo missions or grouped up in parties. What is this all about? How do I get started?
Well, my friend. Keep reading.
¶ The Rules
These rules apply both to the game and the Discord. Please read these carefully, as failing to follow them could get you banned.
¶ Communication 🗣️
- Be nice to each other. This is CaRP's #1 rule.
- If someone asks for help, dont belittle them, either tell them the answer or direct them to Staff.
- Use appropriate language and behaviour. This applies to your Discord profile and BeamMP account.
- No memes, shitposting.
- No insults, hate speech, trolling, etc.
- No ban evasion.
- Conversations in Discord text channels must be in English, unless in a language specific channel.
- Do not advertise or promote other discords, communities, youtube/twitch, or your own business. This includes unsolicited DMs.
- Do not impersonate admins or staff.
- Do not individually ping staff unless you are in a conversation with them, use @Staff ONLY for urgent issues.
- Scamming or attempting to scam others will result in permanent ban.
- No doxxing. Do not share other people's private information or DMs without permission.
- No NSFW content or controversial/inflammatory media.
- No politics.
- Follow Discord TOS: https://discord.com/terms
- Read the guide (that's this page!) before asking questions.
- To post in suggestions and bug report chanels you must read and accept the rules in the Literacy Test Discord channel.
¶ In game 🚙
- Follow staff instructions.
- Respect other players and their vehicles.
- Nicknames deemed inappropriate will result in a temporary ban until they are changed.
- Report rule breakers with evidence in the Discord reports channel. Video evidence is required in most cases.
- No griefing. (ramming, trapping, or blocking)
- Do not 'revenge ram', instead make a report
- No cheating.
- No ban evading.
- Do not spam edits/spawns, disable auto edit and apply changes manually.
- Do not use or abuse glitches, bugs, or any other exploit that gives you an unfair advantage. This includes sharing these exploits with others
- No modding or file sharing without permission
- To type in the server, click only the first reaction on the second message
- No node flying or using node grab to pull yourself to the garage. It is only to be used for getting yourself unstuck, fixing body panels, or towing someone.
- If you delete/don't load cars, you must pay extra attention to avoid accidents
¶ Playing CaRP
¶ Your new best friend: the CaRP User Interface
Familiarize yourself with this menu; it will bring up various UIs within CaRP. Play around with it and see what each button does.

¶ You starter vehicle: the Turdie
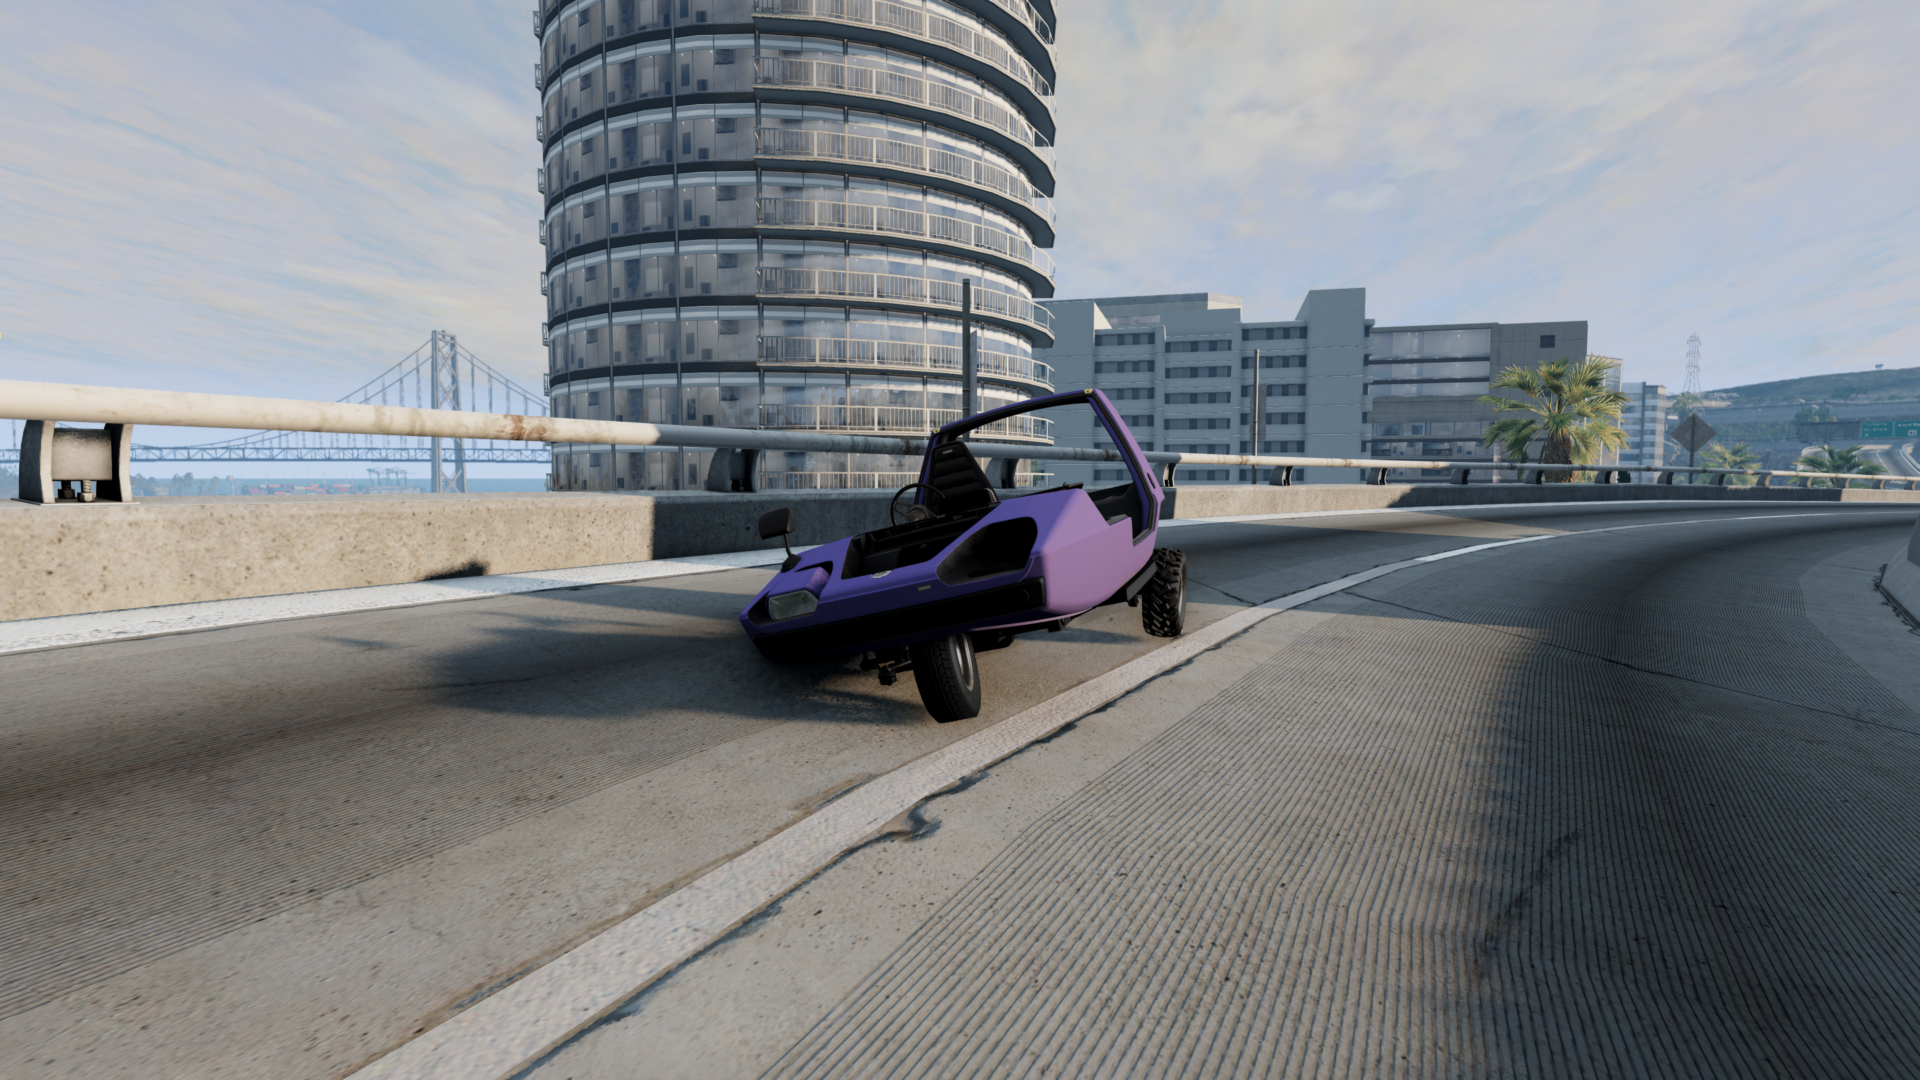
Every player starts in the "Turdie" Wigeon. This cursed 3-wheel golf cart hates left turns, overheats after a few minutes of use, and it doesn't even come with a full tank of gas. Unfortunately this lawnmower engine-powered hunk of metal is your first moneymaker. From the start, this car comes with flat tires, jacked up alignment, and many missing parts so the first thing you'll want to do is get it road-worthy.
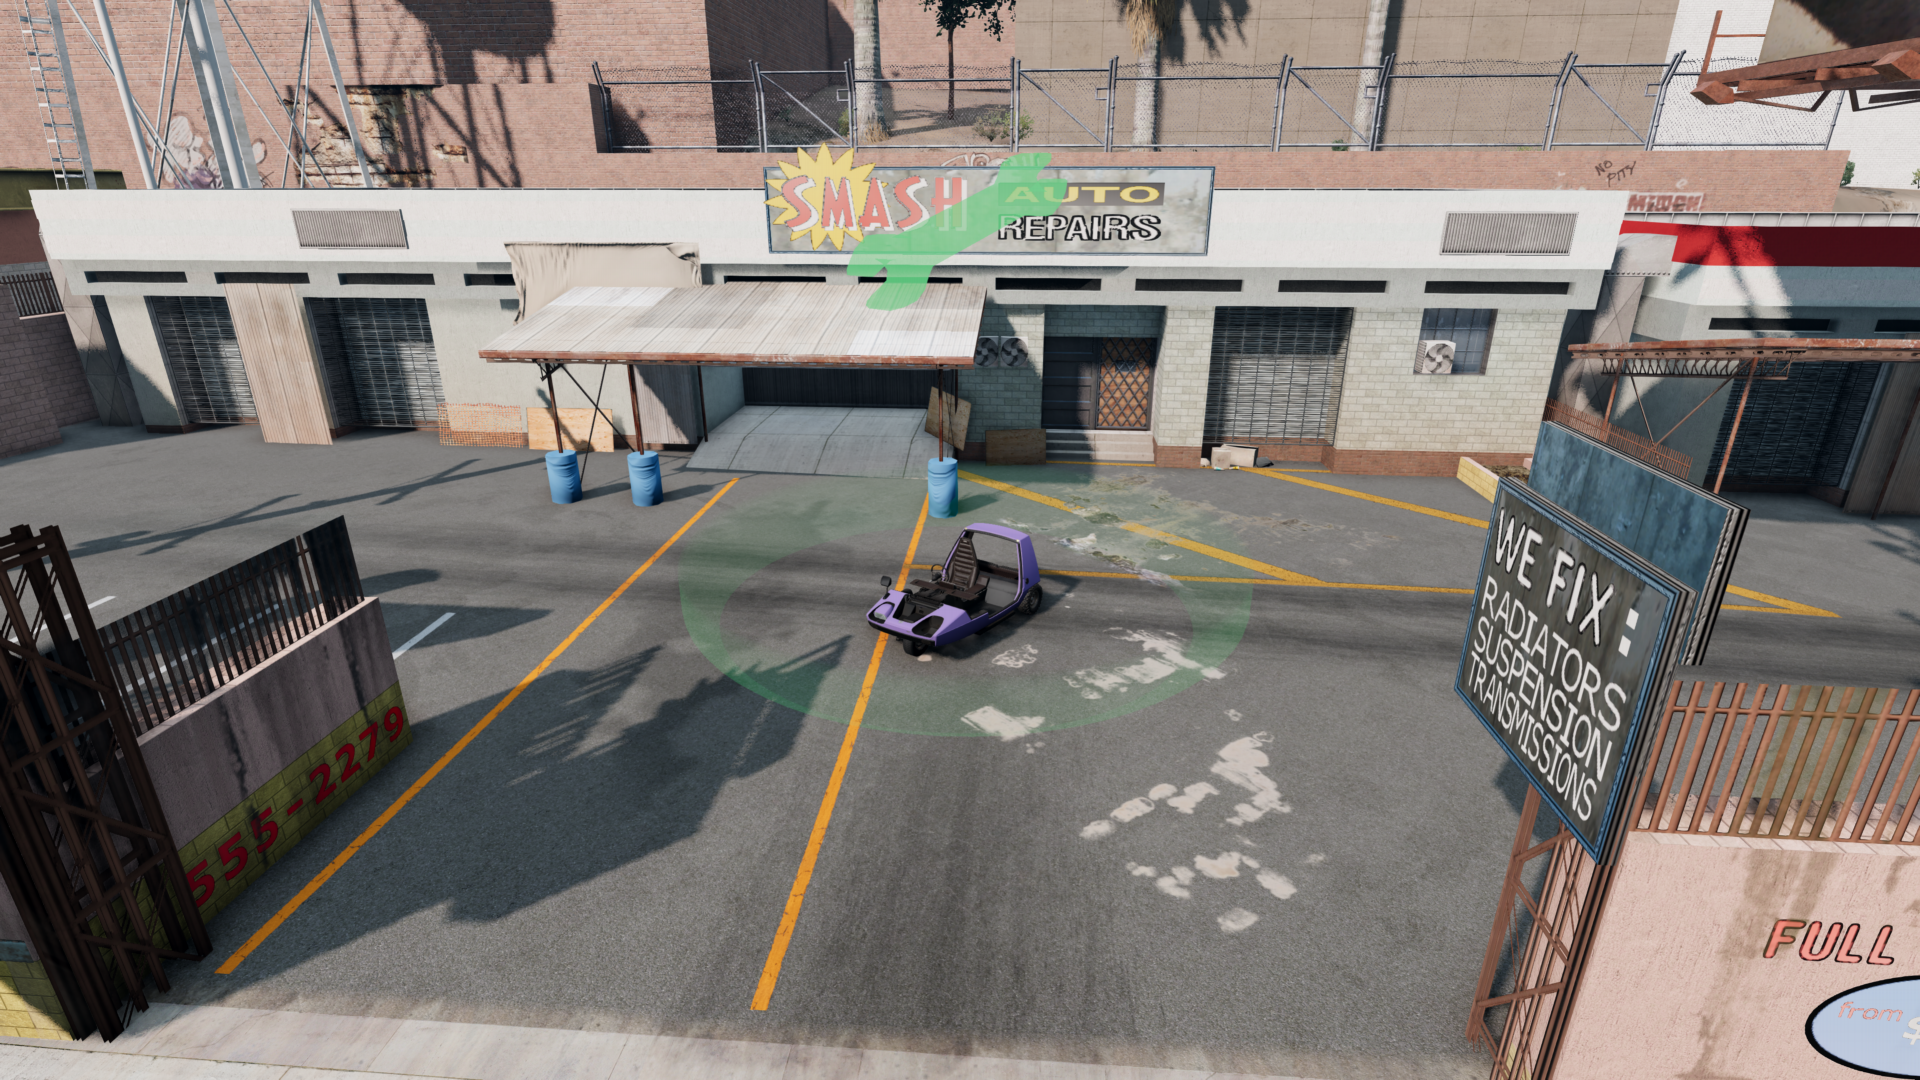
¶ The Garage
At the garage, you can fix the alignment and tires for free and you can even reset/repair your vehicle at a greatly reduced price.
Clicking the ? button (remember the CaRP UI at the top of this page) brings up the help menu, and then clicking on the wrench will set your GPS to the nearest garage. You'll know you're there when you see a green marker on the ground. Drive into the marker until the Garage window appears, and press Ctrl + W to open the part picker menu.
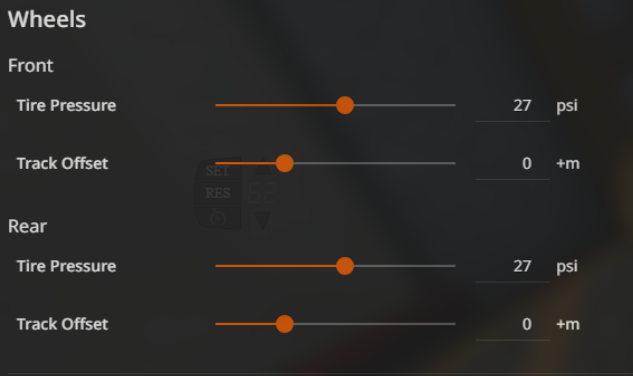
Here, you can buy everything you need for your car. This includes seats, brakes, headlights, anything you can afford - which right now is likely nothing, but don't worry, we'll get to that later. For now, click the "tuning" tab at the top of the screen, and this is where you can fix your alignment and flat tires. Generally, you can use zero (0) as a starting point in all of the alignment settings for you front wheels. This will at least get you driving straight, and you can tweak these settings as you see fit for your style. Next, you can adjust your tire pressures. 25-30 PSI should get you in pretty good shape.
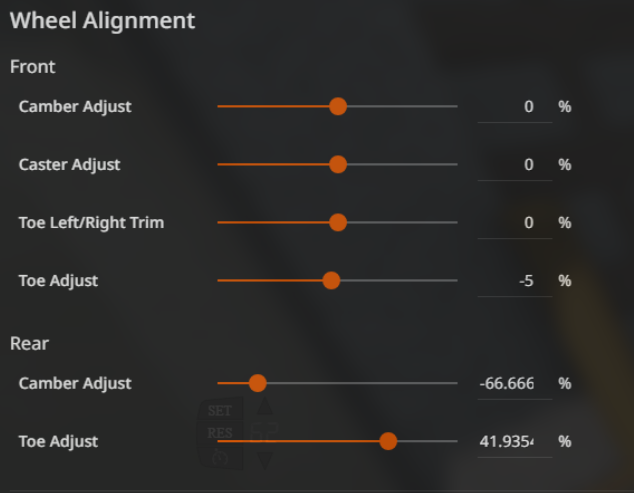
Note: Click here for a folder of screen shots showing the "stock" alignment values for each car.
Click Apply at the bottom, and let's get back to the game!
¶ While you're here!
Go back to the Parts tab and make sure "Apply changes automatically" is unchecked. This will keep your parts changes from constantly syncing to other players while you're working on your car.

¶ Missions
This is how you'll start making money.
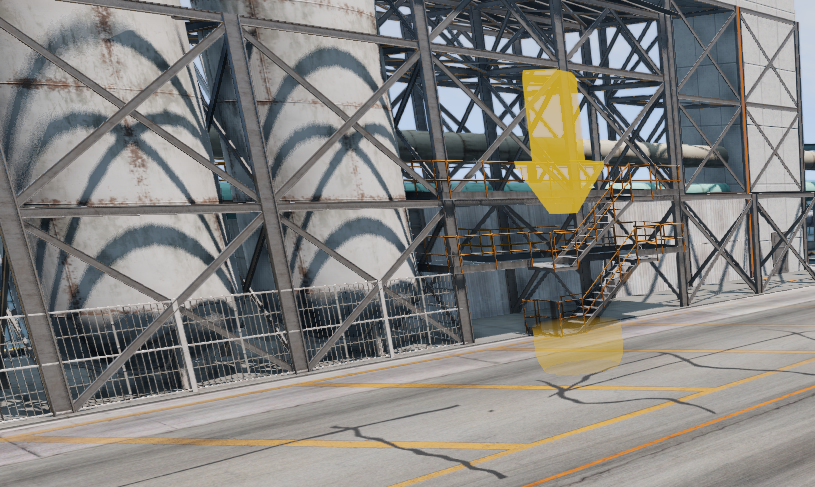
Find a yellow marker on the ground (or click the "Trader Spot" button in the help menu to have the GPS find you one) and drive into it. A screen will pop up, most likely with trading information that we'll get back to later, but for now click "Get Mission." The GPS will automatically set a route for you, and you just follow that route to the destination. Once you're there, drive into the red marker and it will automatically complete the mission and you will get paid. Keep doing this over and over and watch your fortune grow!

Note: If the mission doesn't auto-complete, you can click "Deliver!" in the UI that pops up. Alternatively, you can set a keybind for the CaRP Mission Button (ESC>Options>Controls>Gameplay) so that you can just press a button to start/end missions instead of clicking in the dialogues. Most people set it to "E" on their keyboard, and/or a button on their wheel/controller.
¶ Missions Streaks
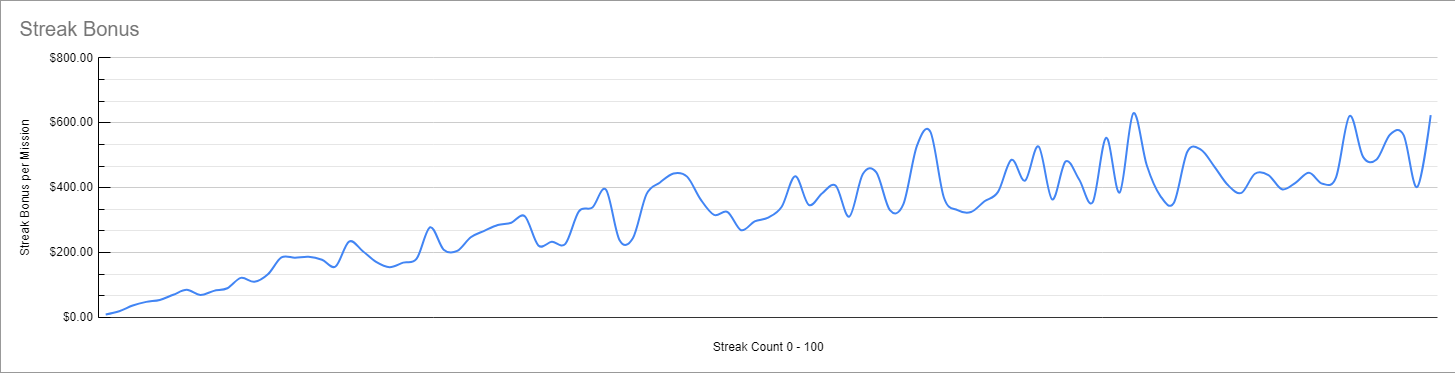
The graph above shows the streak bonus depending on the number of missions you made without respawning your car. Aborting a mission does not fully reset it. You better not crash if you want this bonus!
¶ There are a few different mission types you'll want to learn about:
-
Normal Missions:
These are just standard point-to-point missions. Their payout is based on a number of factors, mostly being your vehicle's cargo capacity, and speed bonus. The higher your cargo capacity, the more a mission will pay you and the higher speed bonus your car has, the more you'll make for driving fast. -
Passenger (PAX) Missions:
These are very similar to normal missions, except that instead of cargo, you have passengers. The goal is to get them to their destination while keeping them happy. This means avoid hard braking, quick manuevers, and speeds above 60mph/100km/h. As long as your car has available seats (not racing seats, and the driver's seat doesn't count), your missions have a chance of being passenger missions. The more seats you have, the more you get paid. -
FUN PAX Missions:
These are are also Passenger missions, but instead of arriving safely, these want a fun ride! This is where you get to show off your skills at drifting, flying, speeding - anything that generates g-force. Watch your points build up and deliver the passenger with as high of a score as you can! -
Trailer Missions:
These are your standard point-to-point missions, but a trailer spawns that you'll need to hook up to and deliver with your mission. These pay more than your standard mission.
In order to get trailer missions, you'll need to purchase the Trailer License for the vehicle you'd like to use, and you'll need to install a tow hitch. If you have both of these, your missions have a chance of being trailer missions.
¶ A few notes about mission types:
- You don't get to choose your mission type. When you start a mission, the type that you get is randomly selected based on what mission types you qualify for.
- You can disable Passenger and Off-Road (harder-to-reach destinations) Missions in the CaRP Settings UI if you don't want them.
Once you have built up a few thousand dollars, it's a good idea to add some parts to your car. Head back to the garage and spend some time in the "Parts" section. Here are some essentials:
Rear brakes: Technically, you can do with out them... but please don't. You don't need high-dollar racing brakes, just some basic drum brakes will be fine.
Rear Shocks: It may feel okay right now, but once you have a little bit of weight in your car, you'll wonder if you're driving a car or a trampoline. Shocks will reassure you that you're in a car.
Cargo boxes: This is crucial to making money. The easiest thing to do is search for "cargo" in the parts search, and add the cargo boxes wherever it will let you: Rear seat, passenger seat, trunk/frunk. You can also add Roof Bars to your car which allows you to add cargo boxes to the roof. If you choose the route of the Beam Box instead, make sure you put cargo boxes inside of it.
¶ Notes about adding to the roof:
The larger the box you place on the roof, the higher cargo capacity you'll achieve, which translates to more money that you'll be paid for missions and/or trading. However, it is worth considering accepting a lower cargo value for a load that is more manageable. Often, having a car that is more agile/faster can make more money with less cargo because you can do more runs in a shorter amount of time. Choosing max cargo can slow you down and/or make your vehicle easier to crash, which costs money.
Vehicles have a maximum amount of cargo they can reach. Anything over that limit (seen in chat when you repair your car as 14/33 or similar) will be purely aesthetic (and potentially heavy).
¶ Purchasing a new vehicle
So you've got through the starter vehicle, and earned enough money for your first vehicle upgrade. You need to find your way to a dealership, which can be done by setting a route (CaRP UI -> Help -> Dealership), or locating the purple marker. Pick the vehicle that you want, and confirm the purchase. Like the starter car, this vehicle will come in a very run down state.
To spawn this new vehicle, you must go to the garage, and spawn the turdie version of it. This should be free to spawn, however, it's wise to have a small amount of money as a buffer, just in case.
When in the garage, press Ctrl+E to open the vehicle spawner, make sure you have "Show Custom Configurations" enabled, choose the car you just bought, and then the "Turdie" config.
¶ Trading
Once you have some money built up, and you want to change your pace a bit, you can dive into trading! This is done by visiting the same places that you start missions from, but instead of taking a mission, you can buy the product that that location offers. You would then sell that product to whichever trader(s) you can sell it to. Seems simple? Almost.
This process is driven by supply and demand. Basically, you buy from a location that has a lot of product in stock (around 500 is great), but you don't want to do this until you know that you can sell it to a place that really needs it (having as close to 0 in stock as possible). This is where your cargo space will really shine. The more capacity that your vehicle can handle, the more product that you're able to move in one load, therefor the more profit you'll make per run.
Before you get started, make sure that you have enough money saved up to buy a full load of cargo and drive into a trader location.
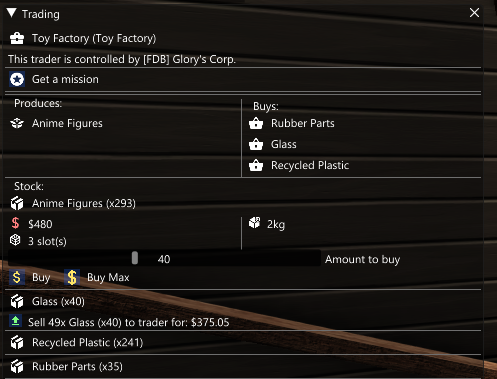
In this example, Anime Figures are the items that this location produces/sells, and they have 293 in stock. To produce Anime Figures, they require Glass, Recycled Plastic, and Rubber Parts. If the supply of one or more of their needed products drops to zero (0), production stops entirely and the amount of buyable product will not increase until they have the items needed to produce again.
In this case, they have very little Glass, and very little Rubber Parts. For that reason, they will pay you more for these products than they would if they had a higher supply, which is best paired with buying from their supplier when they are high in supply. This gives max profits.
The slider allows you to choose how many you'll buy if you hit the Buy button, or you can hit Buy Max and it will automatically purchase a full load.
Also, you'll notice a green button in the Glass section. This is because at the time of this screen shot, the user had 49 glass in their inventory and clicking the green button allows them to sell their inventory to the trader.
Check out the trading page for more in-depth detail of how to make the most of trading.
¶ Have fun!
By this point, you've learned the basics of how to get started. Check out the rest of this How-To for more in-depth information about different aspects of the game, as well as FAQs.
Enjoy!